The Ultimate Guide to Your Landscape Lighting Transformer: Powering Your Yard
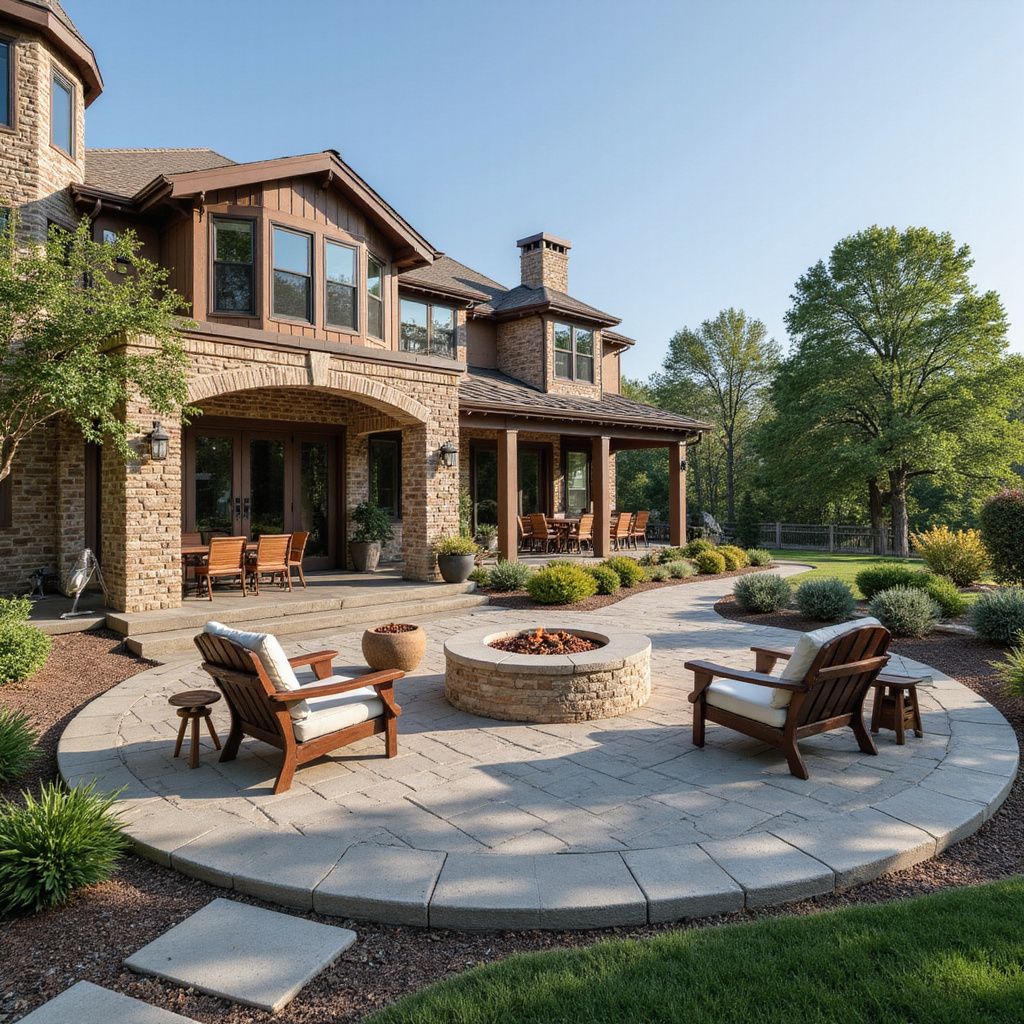
Have you ever pulled up to a house at night and admired how amazing it looks from the street? The architectural features are perfectly illuminated, and the front walkway is safely lit with a warm, inviting glow. That striking curb appeal takes a solid plan, quality fixtures, and a reliable power source working behind the scenes. To bring your outdoor spaces to life after the sun goes down, you first need to understand how a landscape lighting transformer safely powers your entire setup.
Think of this essential piece of equipment as the beating heart of your outdoor illumination system. Here in the US, the electricity flowing through your home's standard wall outlets is a highly powerful 120 volts, which is exactly what you need to run your heavy indoor appliances. However, taking that standard 120-volt power and running it directly into your garden beds or stringing it up in your favorite shade trees is generally not a smart idea for a typical residential yard. That high voltage requires extreme safety measures, making a dedicated step-down system an absolute necessity for your backyard.
Why the Standard 120-Volt Approach Fails Outdoors
Using full line voltage outdoors requires deep trenching, heavy-duty rigid conduit, and strict building code compliance to ensure nobody gets seriously hurt while digging in the dirt. It is an incredibly labor-intensive and expensive way to light up a few mulch beds around your foundation. The primary, critical job of a power box is to take that standard 120-volt house current and step it down to a much safer, far more manageable 12 or 15 volts. This massive reduction in power creates a backyard environment where you do not have to worry about serious electrical hazards.
Dealing with high voltage outdoors presents too many risks for the average homeowner trying to maintain their own property casually. By stepping the power down right at the source, we eliminate those severe dangers and make yard work completely stress-free. This is exactly why the professional landscaping industry has completely shifted away from direct line voltage for standard residential setups. Here are the main reasons we actively avoid using standard line voltage for exterior projects:
●
Tearing up your lawn: Installing high-voltage lines means digging deep trenches right through your grass. You end up ruining your turf to bury the wires, which costs you more money to fix later.
● Fighting city red tape: Full-power electrical work forces you to pull costly permits and wait around for local inspectors. It takes a simple yard project and turns it into a stressful waiting game.
● Dangerous yard work: Burying full line voltage turns routine gardening into a huge safety hazard. Hitting one of those active wires with a shovel while planting a bush could easily send you to the hospital.
● You are stuck with it: Once that heavy conduit is buried deep in the dirt, you cannot easily move things around. If you want to shift a light next summer to highlight a growing tree, you are completely out of luck.
Why We Champion Low-Voltage Landscape Lighting for Your Yard
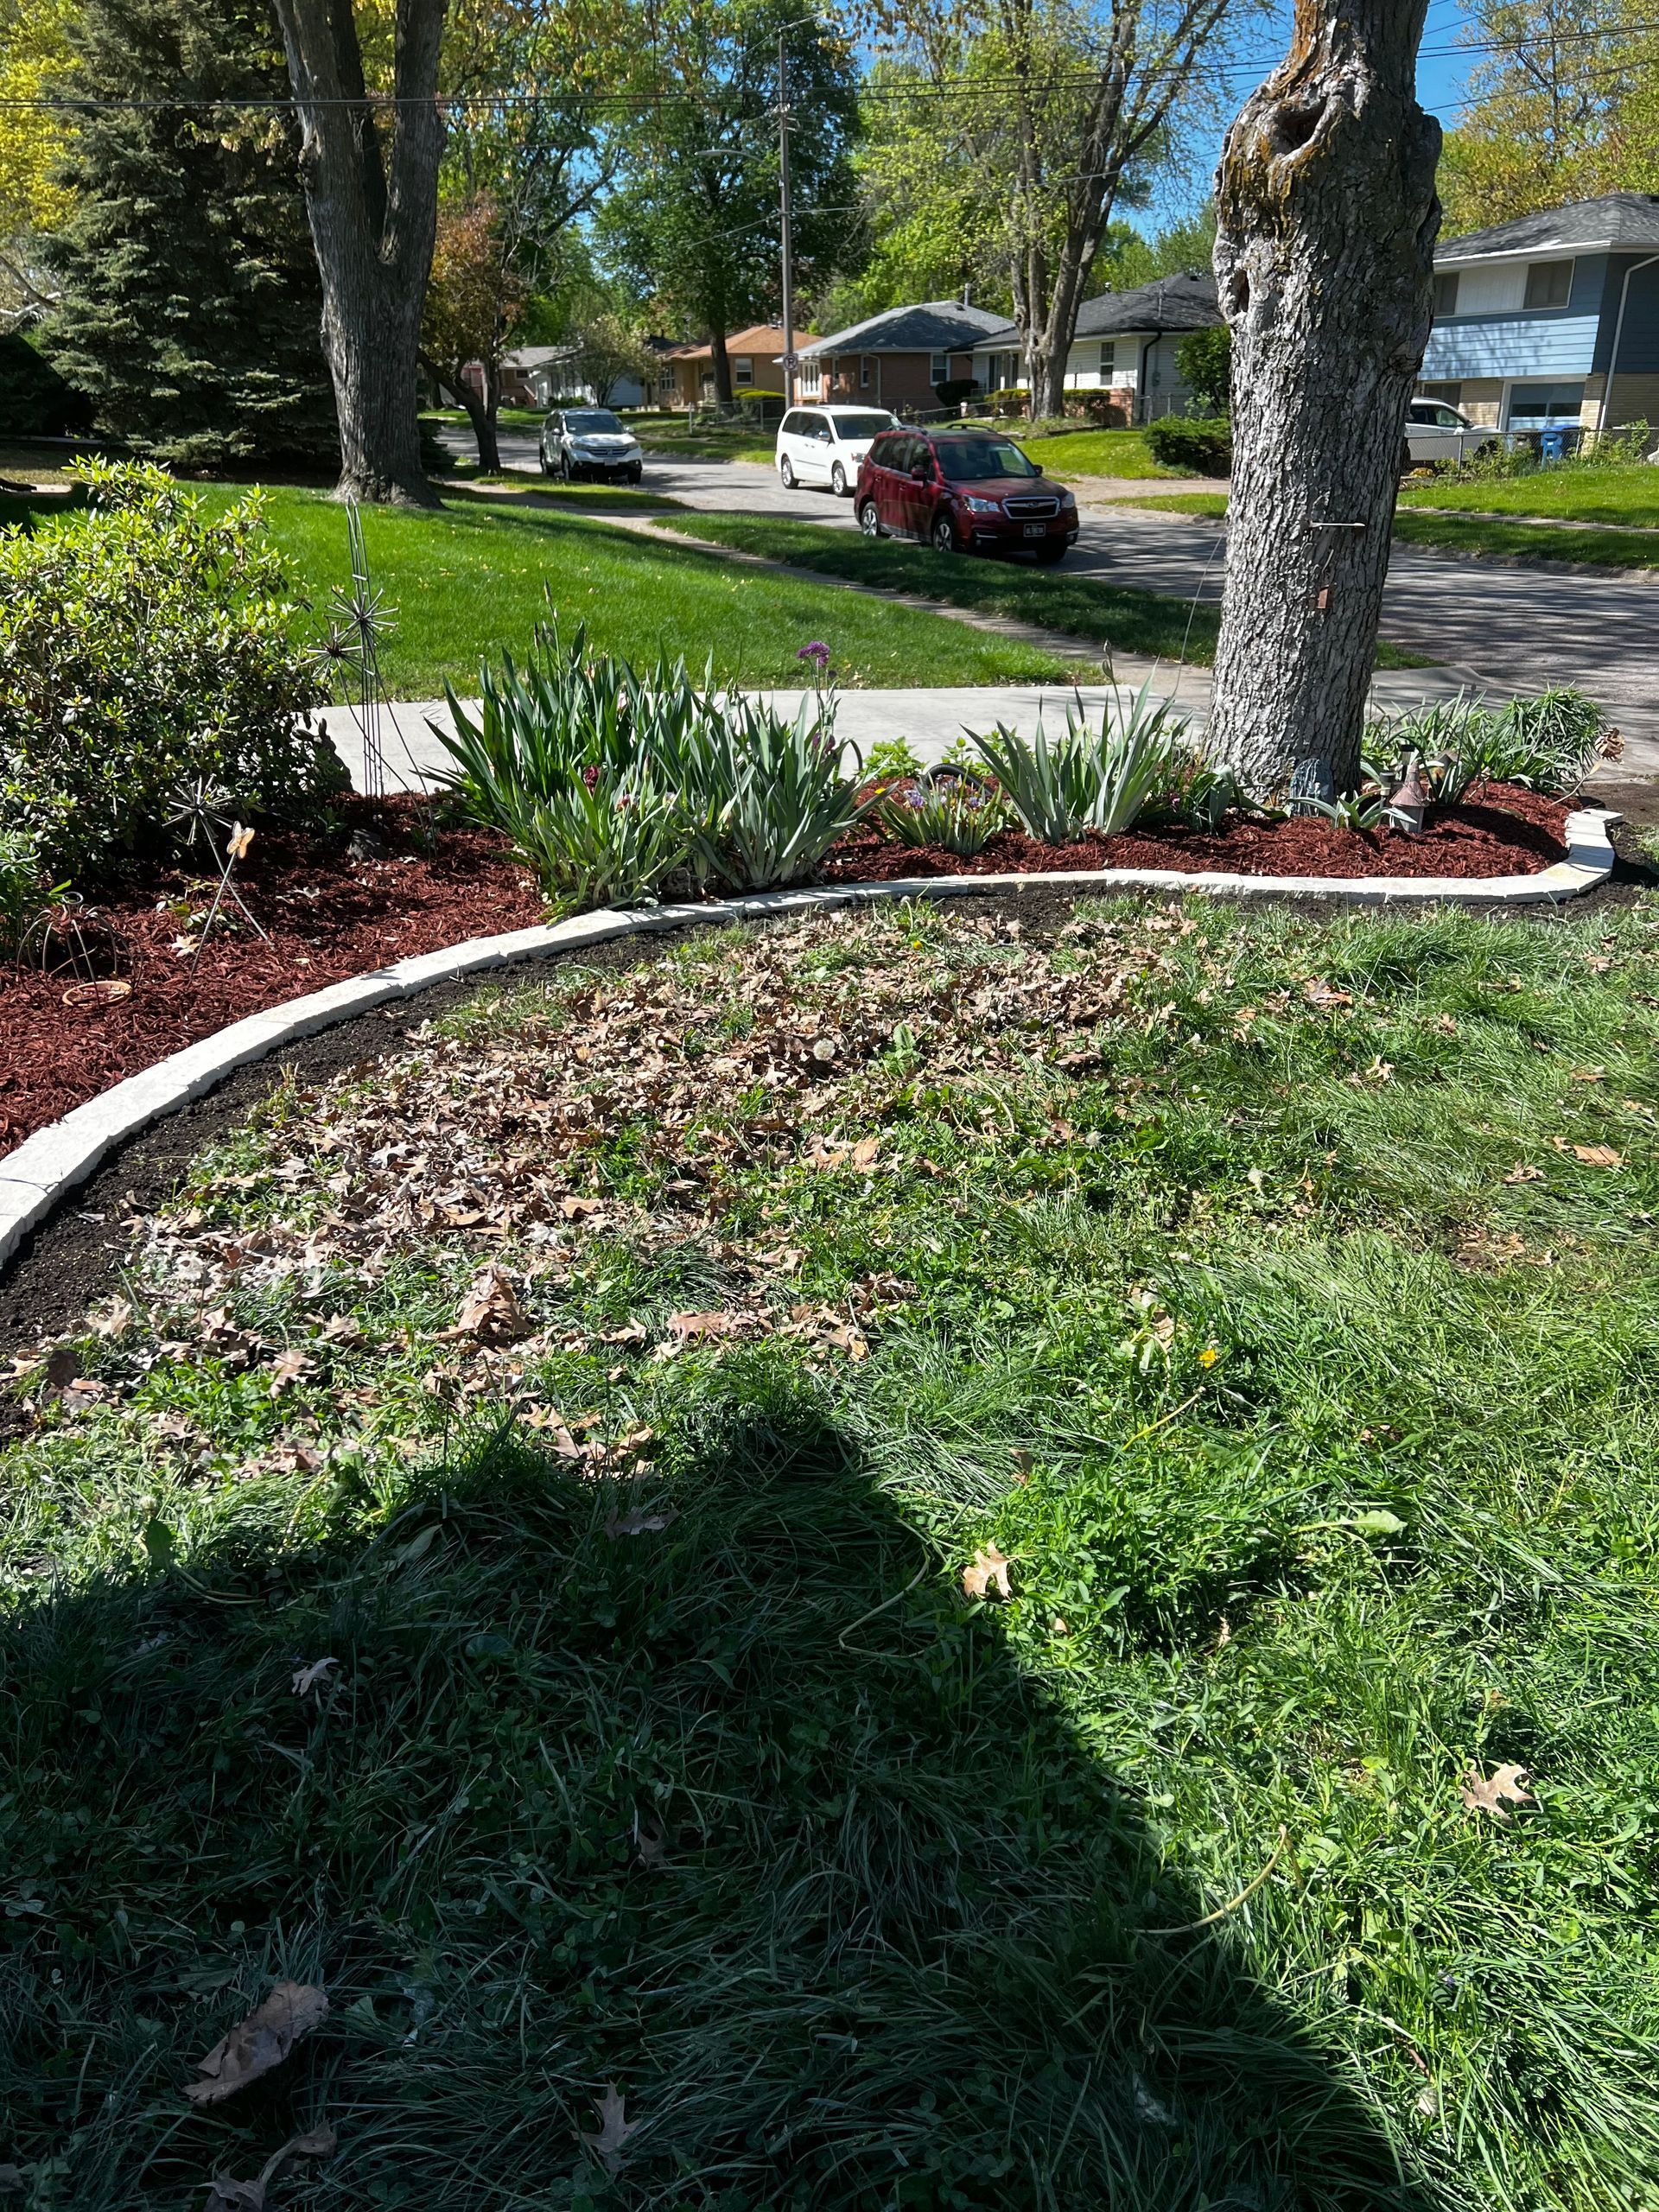
When we sit down to design and build outdoor spaces at Larkin Landscape and Design, we almost exclusively steer our clients toward lower-power options. The benefits of installing low-voltage landscape lighting are too good to ignore, and it truly changes the way you and your family interact with your property after dark. It provides an incredible balance of safety, efficiency, and stunning visual appeal that older systems cannot match. Plus, the sheer variety of fixture styles available for these systems allows us to match your home's unique architectural vibe perfectly.
Prioritizing Safety in Your Backyard Space
First and foremost is the incredible safety aspect we just touched on regarding stepped-down electricity. You can confidently let your kids play tag in the yard, host neighborhood get-togethers, or let the family dog roam around without the stressful fear of high-voltage lines running right under the turf. When you are dealing with a mere 12 volts, the risk of a dangerous, life-threatening shock is virtually eliminated. For most homeowners across the country, that peace of mind alone is worth the entire investment in upgrading their exterior aesthetics.
The Unmatched Flexibility of the System
Beyond safety, there is the incredible flexibility that this type of lower-power setup naturally offers over time. Since the cables do not need to be buried three feet underground in thick PVC pipes, we can be incredibly creative with where we place your light fixtures. Landscaping is a living, breathing thing that naturally changes, grows, and matures over the years. Moving the wires in a stepped-down system is a relatively quick and painless process that doesn't require tearing up your entire lawn.
Energy Efficiency and Your Monthly Utility Bill
Energy efficiency is another massive, undeniable win for property owners looking to upgrade their nighttime curb appeal. When you combine a stepped-down power supply with modern, high-quality LED fixtures, your electrical consumption drops drastically compared to older methods. You can run an entire property's worth of beautiful, bright LED lights on a fraction of the electricity it used to take to power just a handful of old-school halogen bulbs. This means you can enjoy a welcoming home every single night without bracing yourself for a high utility bill.
The Math Behind Your Setup: Sizing It Right
One of the most common questions we get from clients during the planning phase is how to figure out what size unit they actually need. Buying a box that is too small means your lights will be dim, flickering, or simply won't turn on at all because the system is overloaded. On the flip side, buying one that is vastly oversized means you spent good money on electrical capacity you will never realistically use. Finding the sweet spot requires a little bit of basic planning before you purchase any equipment.
Calculating Your Total Wattage Load
Figuring out the right size involves a little bit of simple math based on the fixtures you select. Every single light fixture you buy will have a specific wattage rating printed clearly on the box or the bulb. For example, a standard LED path light marking your front walkway might draw 3 watts, while a powerful LED spotlight used to wash a brick facade might draw 7 watts. To find your total load, you just add up the wattage of every single fixture you plan to connect to that specific power box.
Applying the 80% Rule for Maximum Longevity
Here is the golden rule that we always follow in the professional landscaping industry: you never want to max out your equipment's capacity. We always apply the 80% rule, meaning you should only load the unit up to 80% of its maximum advertised limit. This crucial practice keeps the internal electrical components from working too hard and prevents the core from overheating. By reducing the constant strain on the system, you drastically extend the lifespan of the equipment and protect your investment.
Pro Tip: Always leave at least 20% to 30% of your power supply's capacity completely open! As your landscaping naturally grows over the years, you will inevitably want to add a few more fixtures to highlight new trees or expanded patios. Having that extra capacity built in saves you from having to buy a second box later down the road.
How to Choose the Best Landscape Lighting Transformer for Your Home
When you start shopping around or looking at quotes, you will notice that the market is absolutely flooded with different equipment options. They range from cheap, flimsy plastic boxes at the local big box hardware stores to heavy-duty, professional-grade units used by contractors. Finding the best landscape lighting transformer really comes down to balancing modern convenience features with durable build quality. You need a device that can survive our unpredictable weather outdoors while making it incredibly easy to control your yard.
Housing Materials Built to Last
First, you must look closely at the housing material protecting the internal electrical components from the elements. We strongly recommend investing in a unit with a heavy-duty stainless steel enclosure for maximum durability over the years. Our weather can be completely unpredictable, bringing heavy spring rainstorms, blistering summer heat, and brutal winter freezes. Cheap plastic housings will eventually crack, warp, and let moisture inside after just a few rough freeze-thaw cycles, destroying the sensitive electronics inside.
Control Mechanisms for Ultimate Convenience
Next, consider the control mechanisms and decide exactly how you want your lights to turn on and off each evening. The most basic, old-school units use a simple mechanical pin timer, where you physically push down little plastic tabs to set the hours. These are fairly reliable, but you have to manually adjust them every time the seasons change, and the sun starts setting earlier or later. A massive step up from that is an astronomical timer, which digitally tracks sunset times based on your local zip code.
The Essentials of Outdoor Lighting Transformer Installation
Dropping the voltage down makes the whole setup way safer for DIYers, but don't let that fool you into rushing the job without a solid game plan. At the end of the day, handling your outdoor lighting transformer installation means you are still tying directly into your home's main electrical panel. If you try to cut corners, guess on the wiring, or ignore basic building codes, you are just asking for a massive headache. Sloppy electrical work is a guaranteed recipe for constantly tripped breakers, fried fixtures, and serious fire hazards right outside your front door.
The Nuances of the Setup Process
The box must be mounted in the correct location right from the start to ensure proper functionality and safety. It needs to be placed on a sturdy exterior wall or a dedicated wooden post, usually right next to an outdoor outlet. You must ensure this outlet is a 120-volt GFCI-protected receptacle to guard against sudden moisture issues. Think of that GFCI outlet as a built-in fail-safe for your yard. If things get too wet during a heavy downpour or a fast snowmelt, it trips the power in a split second, so nobody ends up getting a nasty shock.
Managing Voltage Drop Over Long Distances
Once the unit is securely mounted, the low-voltage cable is run from the terminals inside the box out to the yard. Dealing with voltage drop is honestly the trickiest part of the entire setup process for most DIY enthusiasts. As power travels down a long run of copper wire, it naturally loses some of its electrical punch along the way. If you run a wire too far, the lights at the very end of the line will look noticeably dimmer and yellower than the fixtures plugged in closest to the power source.
Maintaining Your Investment Through the Seasons
Once your system is correctly installed and running brightly, it is remarkably easy to maintain throughout the year. However, ignoring it completely is a common mistake, especially after severe weather rolls through the local area. A little preventative maintenance goes a tremendously long way in preserving your setup and catching minor issues early. Taking just a few minutes every season can literally add years to the lifespan of your illumination equipment.
Routine Checks for Optimal Performance
We highly recommend doing a quick, thorough walk-through of your property every few months to inspect the hardware. Check the main box to make sure the door is securely latched and that no insects, spiders, or mice have built nests inside. Check your individual fixtures to ensure they are standing straight up, as lawnmowers or heavy snow accumulation can easily knock them down. Finally, wipe down the glass lenses with a soft cloth to remove hard water spots from your lawn sprinklers or accumulated dirt.
Troubleshooting Common Power Issues
If you ever walk outside and notice a whole section of lights is out, the first place to check is the box itself. There is usually a built-in circuit breaker that can instantly trip if there is a power surge or a short in the yard. Simply flipping that little switch back on might solve the frustrating issue in a matter of seconds. It is a quick fix that often saves homeowners from a panicked phone call to an electrician.
Enhancing Your Outdoor Lifestyle
At the end of the day, good lighting does way more than just boost your curb appeal. It actually lets you use your whole yard long after the sun goes down, turning a dark patio into the perfect spot for late-night barbecues. You can finally kick back with a drink outside or take the dog out without fumbling around for a flashlight in the dark. It simply makes your entire property feel bigger, safer, and infinitely more welcoming every single night.
It also adds a significant, proven layer of security to your home by eliminating dark hiding spots around your doors and windows. A well-lit exterior is one of the absolute strongest deterrents to unwanted visitors, giving your family absolute peace of mind while you sleep. By taking the time to fully understand the core components and choosing quality materials, you are making a smart property upgrade. You are setting yourself up for years of reliable, beautiful illumination that enhances your everyday life.
Frequently Asked Questions
Q. Can I leave my system turned on all night long?
A. Yes, you can run them from dusk till dawn, and since LEDs barely sip power, it won't wreck your electric bill. Just ensure your main box isn't overloaded with too many fixtures so it doesn't overheat.
Q. How long do these exterior units typically last?
A. A heavy-duty stainless steel box should easily give you a solid 10 to 15 years through the roughest American weather. Just avoid the cheap plastic ones, because they always crack and let water in after a few freezing winters.
Q. Do I need a licensed electrician to install one?
A. You can completely handle burying the low-voltage wires in the mulch yourself without paying for city permits. But if your house doesn't already have an exterior GFCI outlet, you will definitely need to hire a pro to install one first.
Q. Can I mix halogen and LED bulbs on the same wire?
A. You can, but those old halogen bulbs hog so much power that they will cause major voltage drops and make your new LEDs look dim. Save yourself the headache and just stick to a 100% LED setup across your entire yard.
Visit Larkin Landscape and Design to Get Started Today
Creating a truly breathtaking nighttime environment takes a bit of planning, the right equipment, and an experienced eye for architectural design. We know that dealing with wires, calculating electrical loads, and selecting the perfect fixtures from a massive catalog can feel completely overwhelming. You certainly do not have to tackle this big exterior project entirely on your own without professional guidance. We have spent years helping homeowners design, build, and maintain stunning outdoor spaces that are built to last and look incredible.
Ready to finally ditch the flashlights and actually use your yard at night? Give us a shout here at
Larkin Landscape and Design. We'd love to come out, walk the property with you, and figure out a lighting setup that makes sense for your space and your budget. Let's get your house looking incredible from the street and build a backyard you actually want to hang out in after dark.
Recent Blogs