
Revive your winter lawn with our complete Iowa spring lawn care checklist. Discover month by month tips for a lush green yard. Read the full guide now.
Planning a new backyard? Discover the real cost of Paver Patio Installation Iowa homeowners should expect. Get expert design tips and book your free quote now.

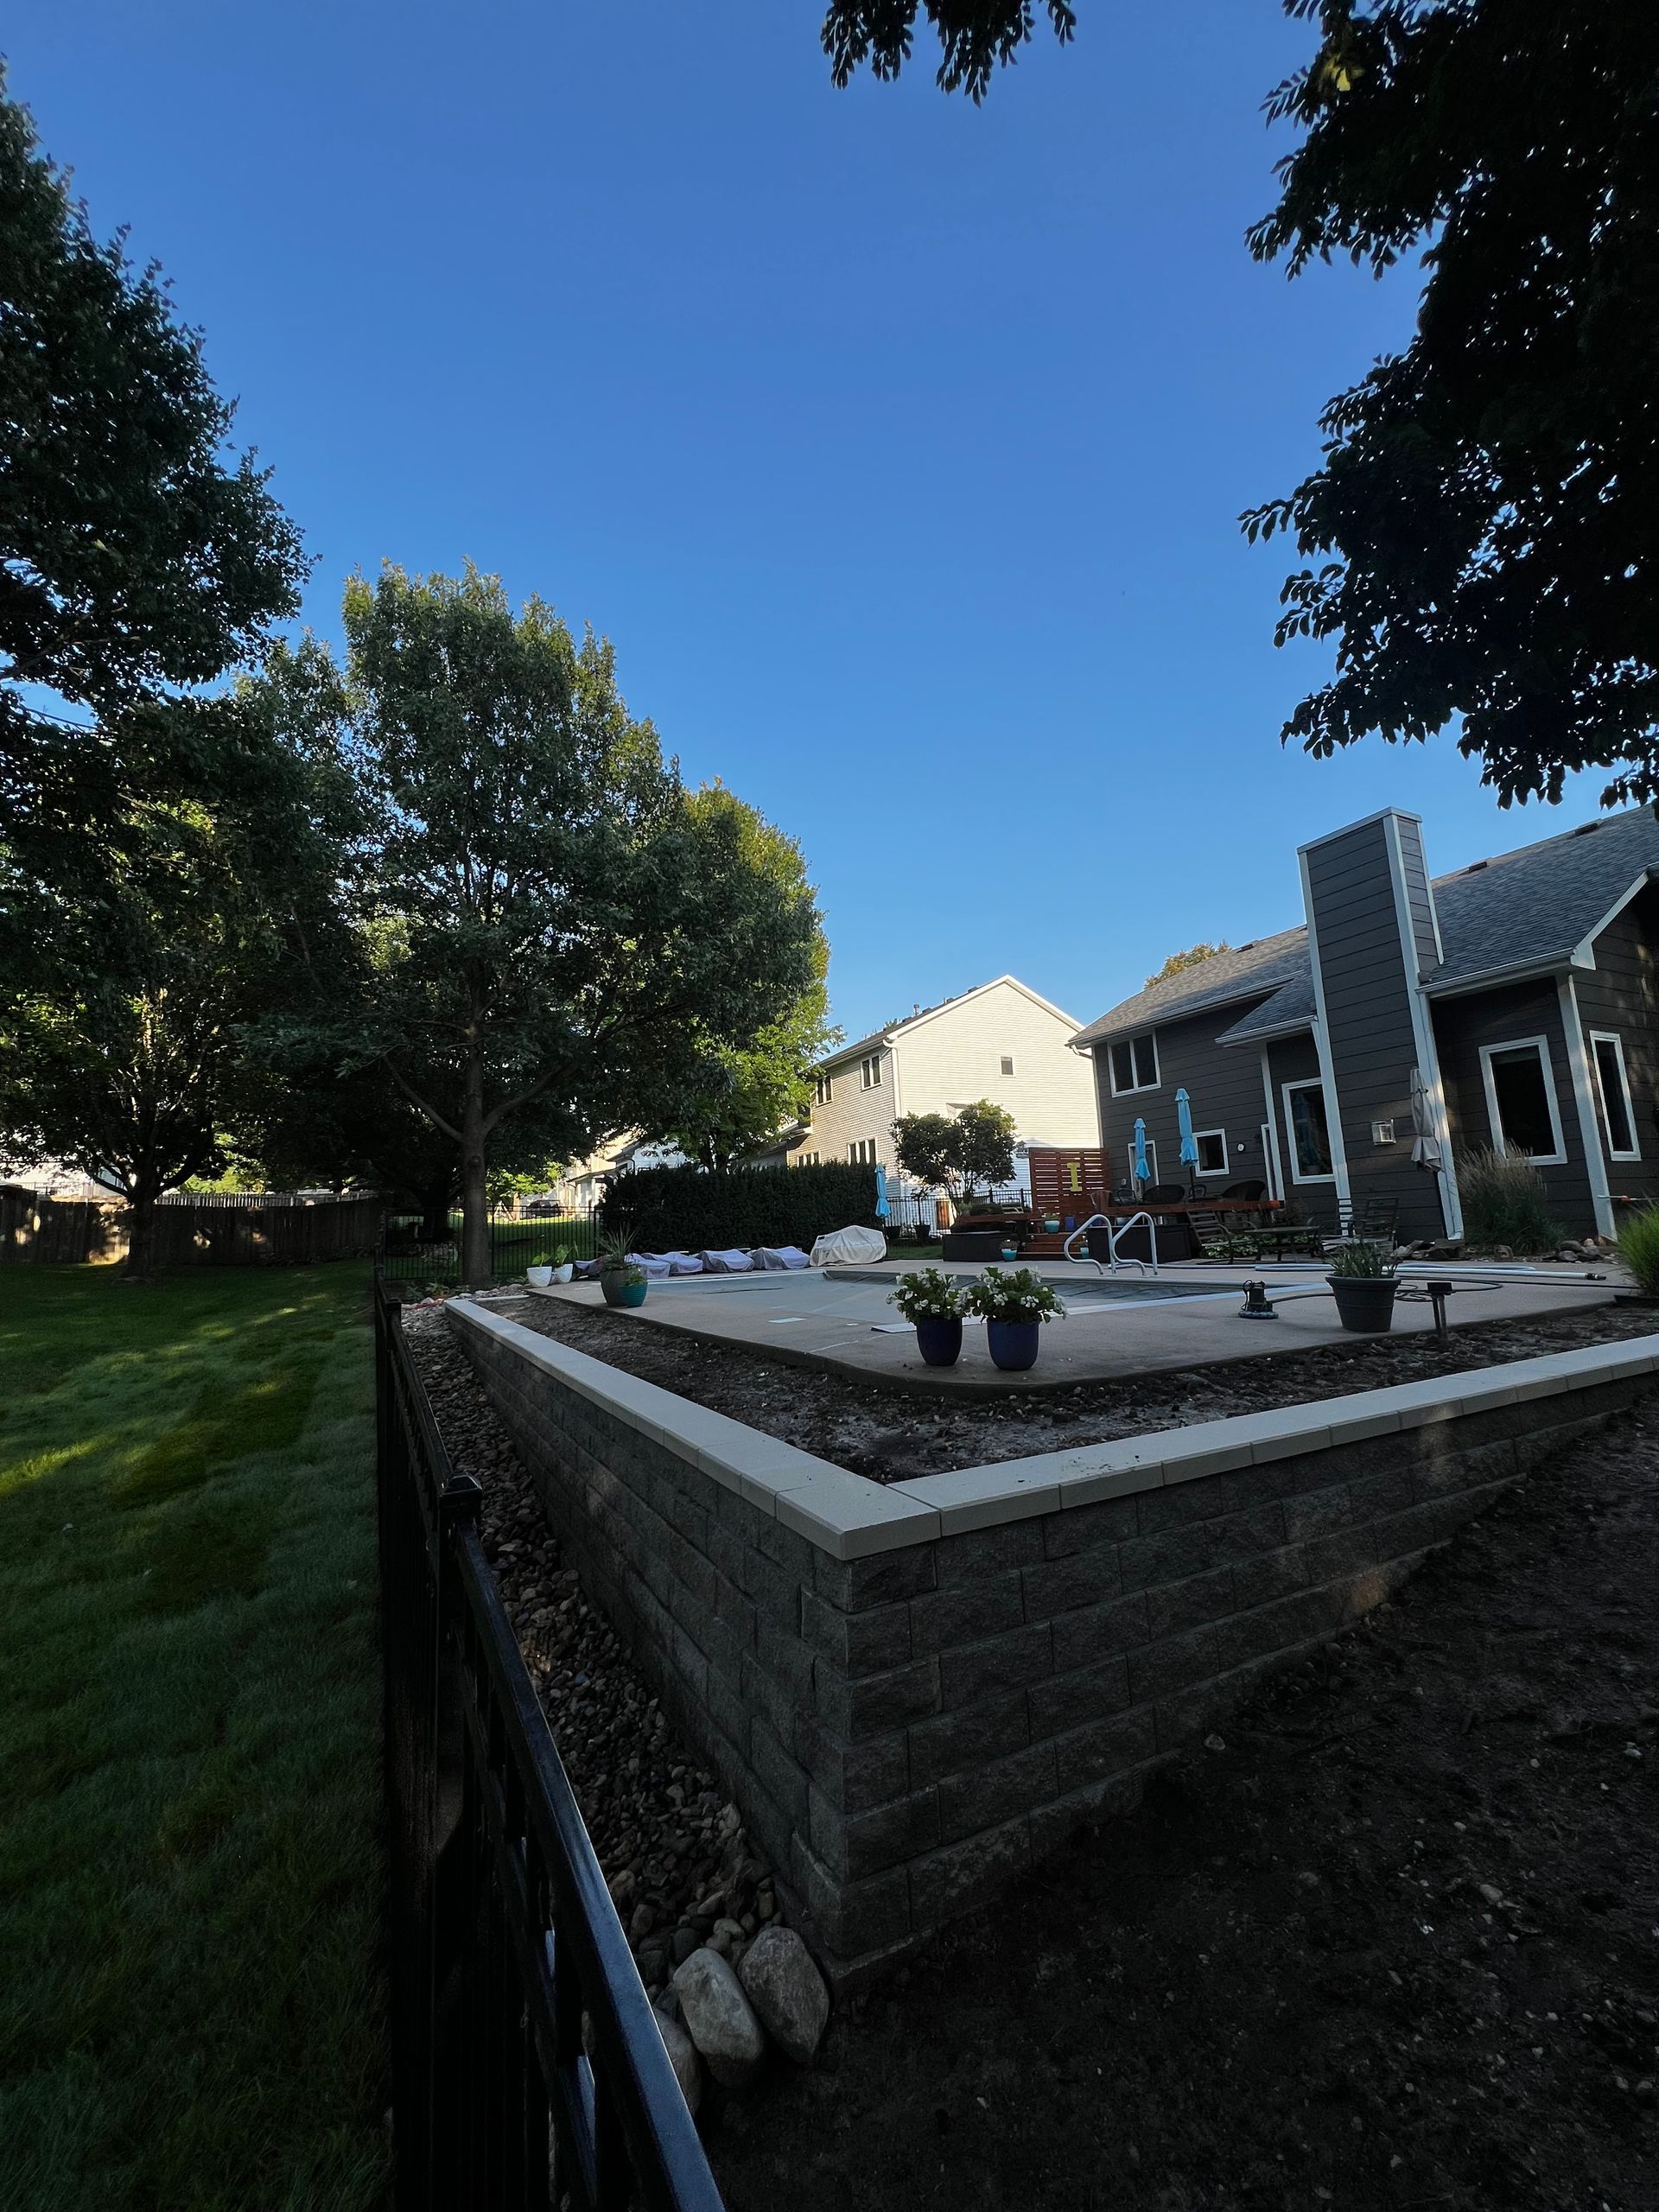
Prevent costly damage with our proven hardscape erosion control guide. Discover how to use retaining walls and drainage to save your yard. Read more here.

Learn how professional landscape lighting design boosts curb appeal and keeps your family safe at night. Click to start planning your dream outdoor space.

Discover the truth about rock vs mulch in Iowa landscapes. We break down costs & weed control to help you choose right. Click here to decide today.
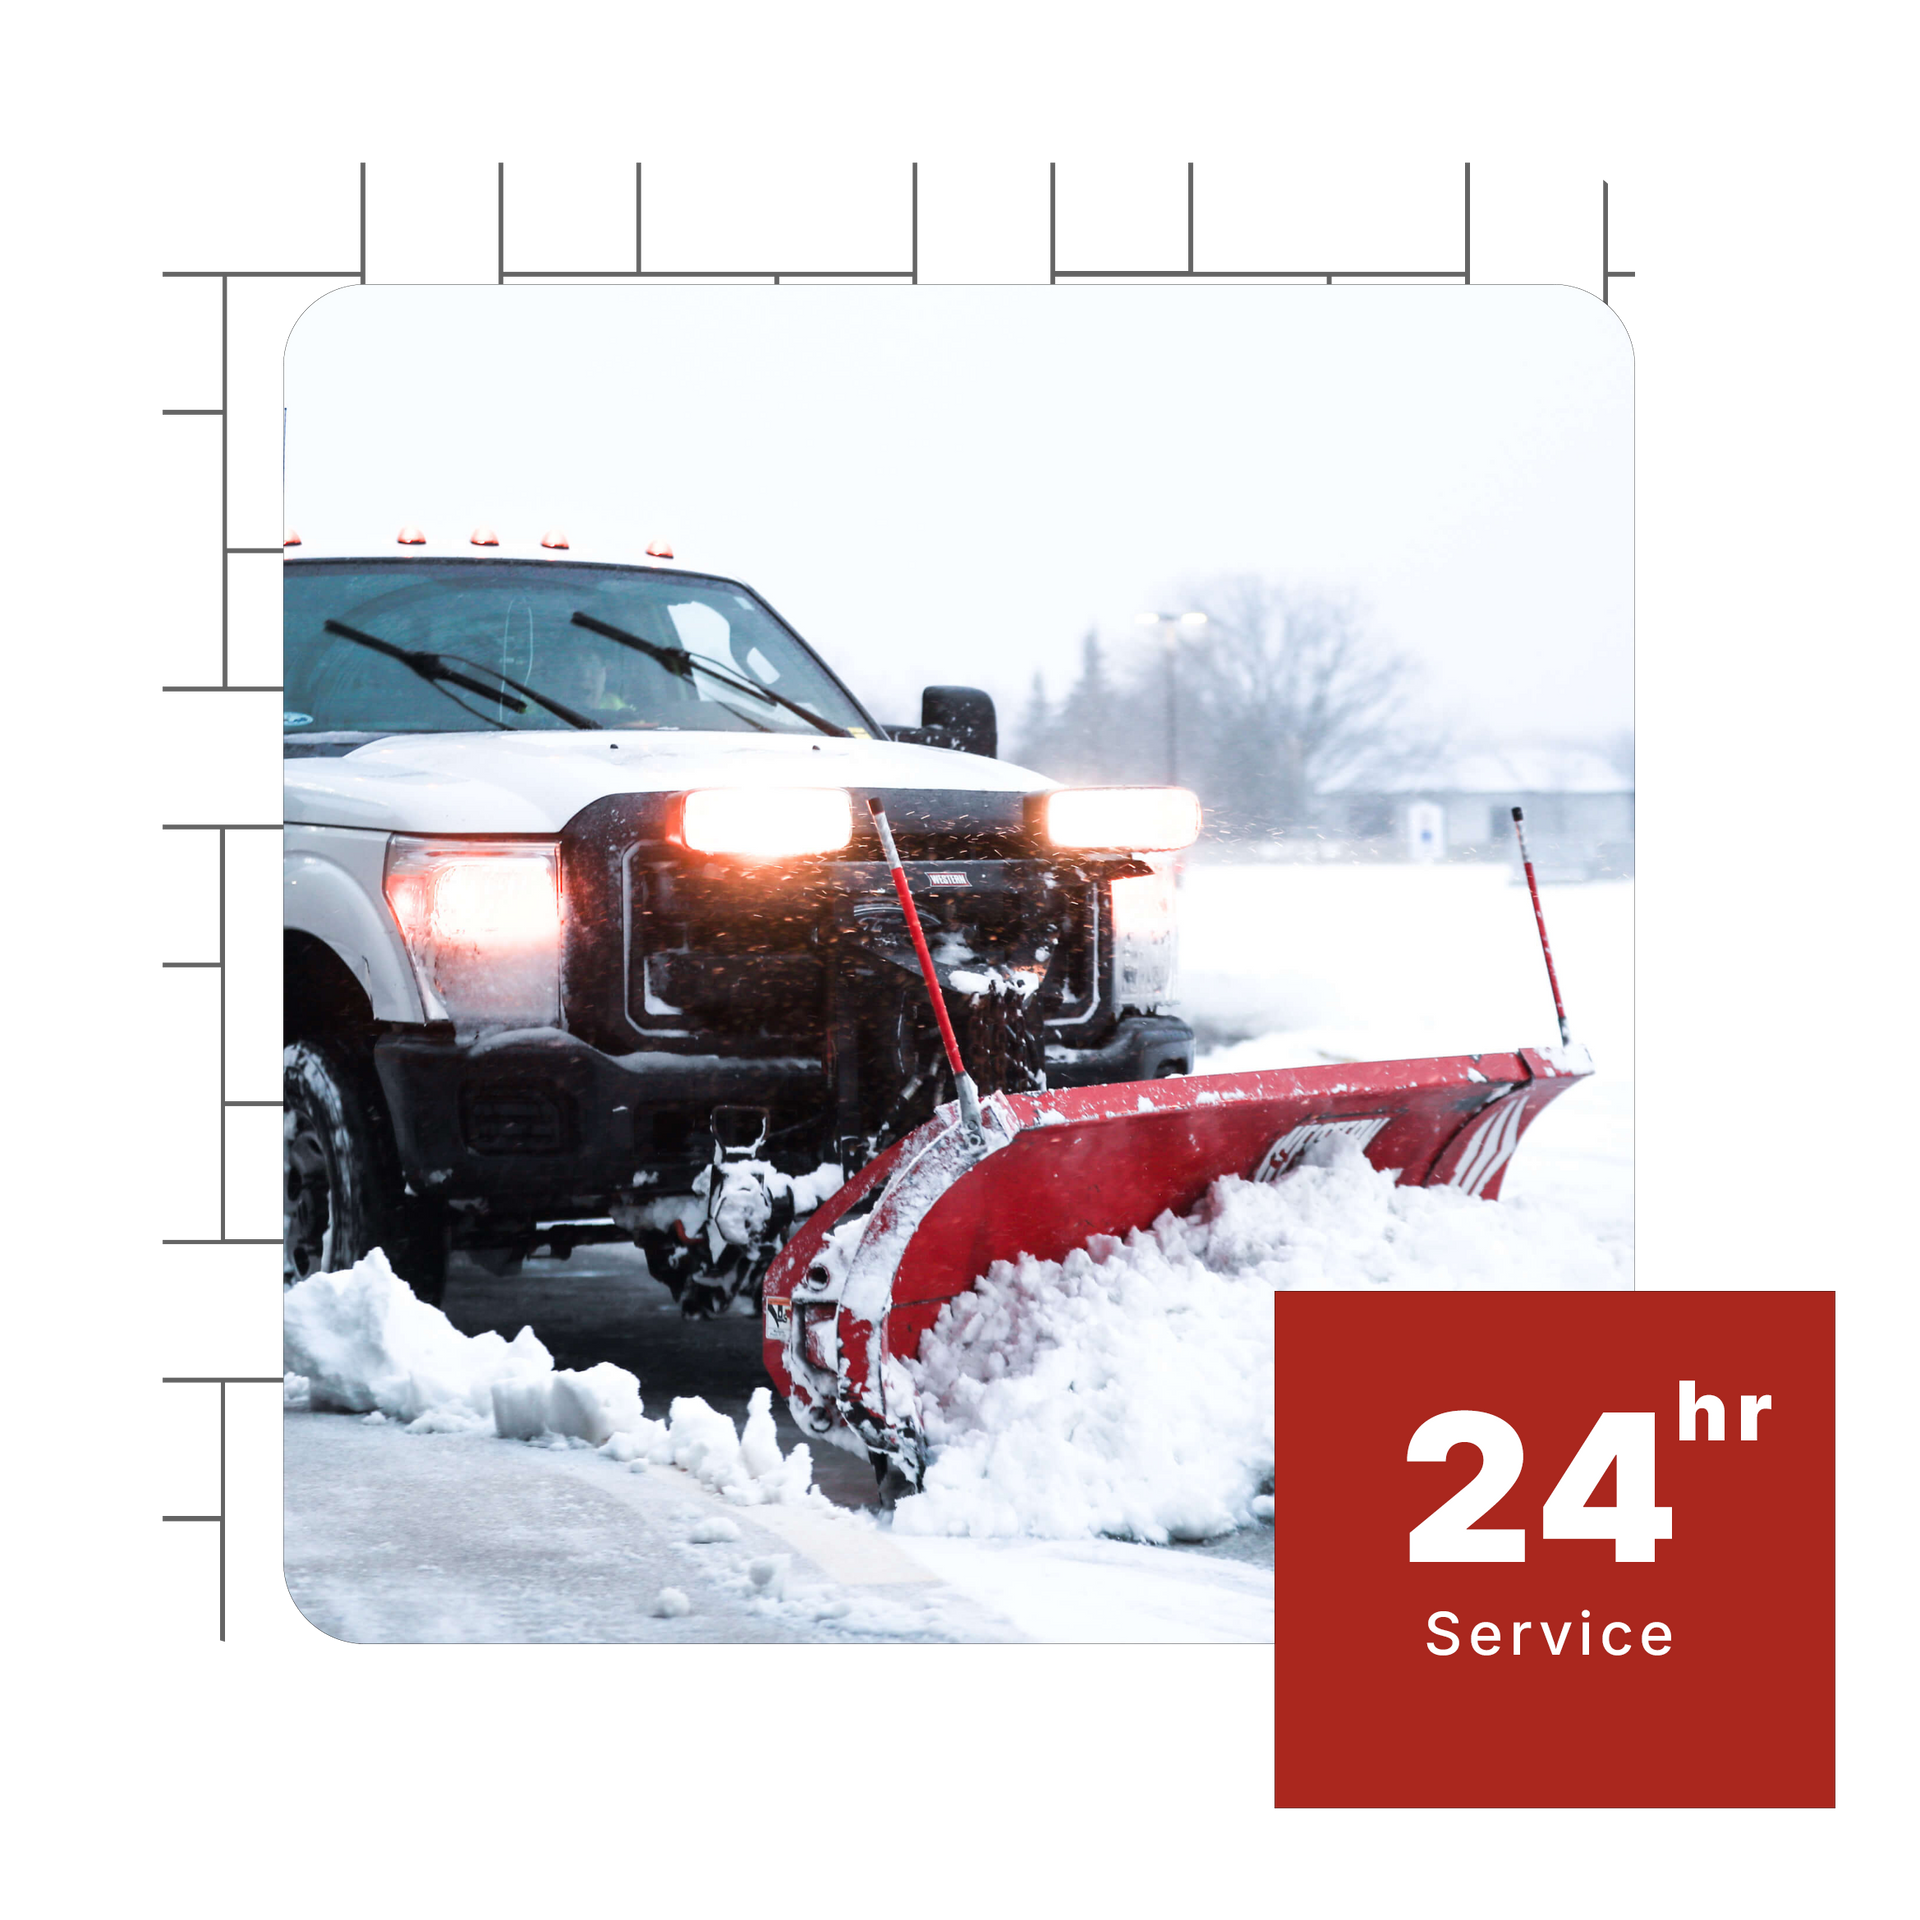
The 4 a.m. Alarm: An Iowa Winter Reality If you’ve lived in Iowa for more than a single winter, you know the sound. It’s not your alarm clock, it’s the muffled ‘scrape-scrape-scrape’ of a shovel hitting concrete before the sun even comes up. Iowa winters are beautiful, sure. The blanket of white over the cornfields is postcard-perfect, until you have to drive through it to get to work or open your shop for customers. That’s when the reality sets in: snow isn’t just weather here, it’s a logistical hurdle. At Larkin Landscape , we’ve spent years battling Iowa’s unpredictable elements, from those heavy, wet snowfalls in December to the biting ice storms of February. One question we often hear from our neighbors in Des Moines , Ankeny, and Iowa City is, "Is there really a difference between hiring someone for my driveway and hiring a crew for my business?" The short answer? Yes. The long answer? It comes down to two things: urgency and liability. Let’s grab a warm cup of coffee and dive into what separates residential snow plowing services from commercial ice management, and why knowing the difference matters for your peace of mind. Residential Snow Removal: Reclaiming Your Morning For homeowners, snow removal is personal. It’s about getting the kids to school safely and not throwing out your back before your first meeting. When you hire a pro for residential snow removal in Iowa, you’re essentially buying time. You’re paying for the luxury of hitting the snooze button while someone else handles the heavy lifting. 1. The Scope is Smaller (But Details Matter) Residential jobs are typically about precision in tight spaces. We aren't clearing acres of asphalt, we’re navigating around your kid’s basketball hoop, your meticulously planted boxwoods, and that one car parked a little too close to the edge of the driveway. Equipment here is different, too. While we might bring a plow truck for a long driveway, we often rely on snow blowers and shovels for the detail work. Why? Because a massive commercial plow can do a number on a residential lawn if you aren't careful. We treat your property like our own, ensuring the snow is moved away from the house (to prevent wet basements when it melts) without burying your mailbox. 2. The Schedule is Life-Dependent Residential triggers are usually simpler. Most homeowners want service after the snow stops falling or reaches a certain depth (usually 2 inches). The goal is clear access. You need to get out of the garage, and the mail carrier needs to get to the door. It’s about restoring the flow of your daily life. Commercial Snow Removal: The Zero Tolerance Game If residential snow removal is about convenience, commercial snow removal is about risk management. For business owners in Iowa, snow isn't just an inconvenience, it’s a liability lawsuit waiting to happen. If a customer slips on a patch of black ice outside your storefront, the consequences are far heavier than just a wet pair of pants. This is where the term ice management takes center stage. 1. It’s Not Just About Moving Snow; It’s About Melting Risk Commercial contracts are intense. We operate with what we call a "zero tolerance" policy for ice. In a residential setting, a little hard packed snow on the driveway might be acceptable for a few hours. In a commercial lot? Absolutely not. This means we aren't just plowing, we are pre-treating surfaces with brine or salting immediately after clearing. Sidewalk clearing becomes a high stakes game. We have to ensure that handicap ramps, loading docks, and emergency exits are down to the pavement. 2. The 24/7 Monitoring Cycle Unlike residential routes that might run once the storm passes, commercial snow removal in Iowa is a round the clock operation. Imagine a hospital entrance or a 24-hour gym. We can’t wait for the snow to stop. We are often out there during the storm, making multiple passes to keep lanes open. We monitor weather radar specifically for ground temperature drops to predict when wet pavement will turn into a skating rink. 3. Heavy-Duty Artillery Remember those snow blowers we mentioned for homes? They rarely cut it here. Commercial jobs require skid steers, frontend loaders, and massive V-plows to stack snow into designated snow piles that won't block visibility for drivers. We have to plan where the snow goes before the first flake even falls, ensuring it doesn't melt and refreeze across the parking lot later. The Science of Salt: It’s Not Just Sprinkling Magic Dust You might think throwing salt down is the universal fix, but in Iowa, it’s actually a science. One thing many people don’t realize is that standard rock salt loses its effectiveness when temperatures dip below 15°F. In January, when we hit those sub-zero wind chills, throwing cheap salt on your sidewalk is like throwing gravel, it won’t melt a thing. This is where the difference in service really shines. For our residential clients, we’re hyper-aware of your landscape and your furry friends. We often use blended products that are gentler on concrete and safe for Fido’s paws. Over-salting a driveway can burn your grass come spring, leaving you with brown edges that are a pain to fix. On the commercial side, however, we often have to use more aggressive treated salts or liquid brine. We can’t risk a ‘slip and fall’ lawsuit, so we use products designed to cut through ice even in extreme cold. It’s a balancing act between safety, budget, and environmental care that requires a professional touch to get right. The Iowa Factor: Why Local Expertise Wins Whether it’s residential or commercial, the Iowa Factor changes the game. Our weather doesn't follow a script. We get those wintry mixes, rain turning to sleet turning to snow, that create a concrete like layer of ice underneath the fluff. National chains that manage snow removal from a call center in a different time zone often miss these nuances. They don't know that the wind whips across the open plains of Central Iowa, causing massive drifts on north facing driveways even after the snow has stopped. At Larkin Landscape, we are local. We know that in Ankeny, the wind chill can freeze a wet sidewalk in minutes. We know the local ordinances in Des Moines regarding how quickly public sidewalks need to be cleared (usually 24 hours). A Human Approach to a Cold Job: We believe that whether you are a frantic mom needing to get the minivan out or a property manager worrying about tenant safety, you deserve a human response. You aren't just a route number to us. ● For our Residential Clients: We promise to respect your property boundaries and your sleep schedule as best we can. ● For our Commercial Clients: We promise documentation. We keep logs of when we plowed and when we salted, protecting you if a liability claim ever arises. Which Service Do You Need? If you are reading this and wondering, "Do I need a commercial contract for my large rural driveway?" or "Can I just hire a neighborhood kid for my small business lot?", here is a quick rule of thumb: ● Traffic Volume: If you have strangers (customers/employees) walking on your property daily, you need commercial grade ice management and insurance protection. ● Tolerance for Delays: Can you wait until the storm ends to leave your house? Residential service is a perfect fit. Do you need the lot clear by 7:00 a.m. sharp regardless of when the storm hit? That’s a commercial necessity. Ready for Winter? Winter in Iowa is inevitable, but the stress that comes with it doesn't have to be. Whether you need your front walk cleared or a shopping center maintained, Larkin Landscape has the local know-how to keep you moving. Don't wait for the first blizzard warning to start Googling "snow plowing services." By then, our schedules and our mugs of hot cocoa are already full. Contact Larkin Landscape Today to discuss your winter plan. Let’s keep Iowa safe, one cleared sidewalk at a time.

Want a stunning yard this year? Learn how to prepare landscape for spring with our proven checklist for hardscapes and plants. Start planning your oasis now.
Tired of a muddy lawn? Explore seven drainage fixes that truly work and find out the average French drain cost Iowa homeowners pay. Read the full guide today.
Protect your buildings with expert storm damage restoration Philadelphia after severe weather. Learn an essential action plan for managers today. Get help fast.
Build a low-maintenance landscape with Iowa native plants. Explore 15 prairie perennials that thrive in Iowa for color, pollinators, and easy care.